How to Connect Fluent Forms to Make.com for Free (No Pro Subscription Needed)
Fluent Forms is a great free form plugin, but the moment you open its Integrations tab you hit a wall: connecting to Make.com (and most other tools) requires the Pro version. Here is the workaround I use on real client projects: a free plugin called WP Webhooks that sends every form submission to Make through a webhook. A webhook is simply a special web link that one app uses to instantly pass information to another app. Total cost: zero.
What you need
These are the exact steps I went through on a real build, so I'm teaching it the way I did it. Feel free to explore other options if they fit your situation better.
- A WordPress site. You do not need a paid website or a domain for this. If you don't have one yet, follow my free guide first: How to Set Up WordPress for Free on Your Own Computer.
- The free Fluent Forms plugin (we install it in step 1)
- The free WP Webhooks plugin (we install it in step 2)
- A free Make.com account (n8n works the same way; we use Make in this example)
Install and activate Fluent Forms
From the WordPress dashboard, go to Plugins → Add New and search for Fluent.
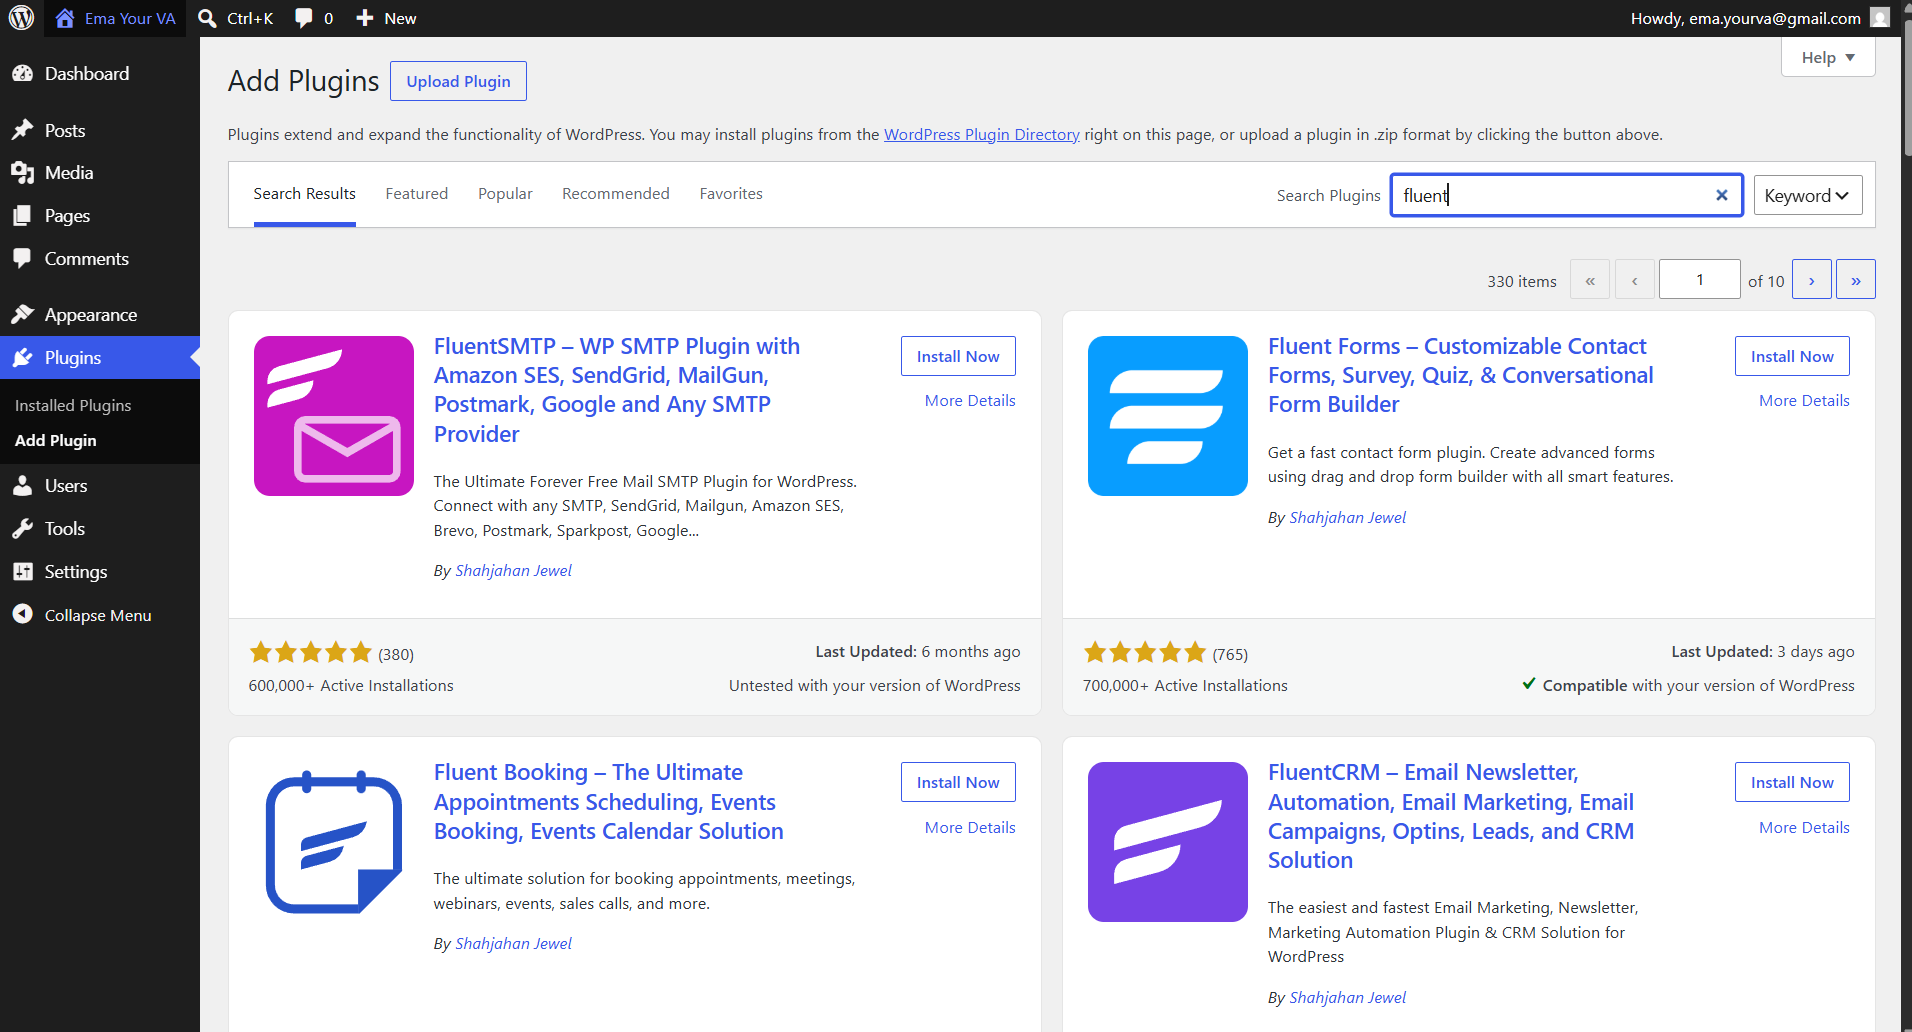
Install Fluent Forms – Customizable Contact Forms:
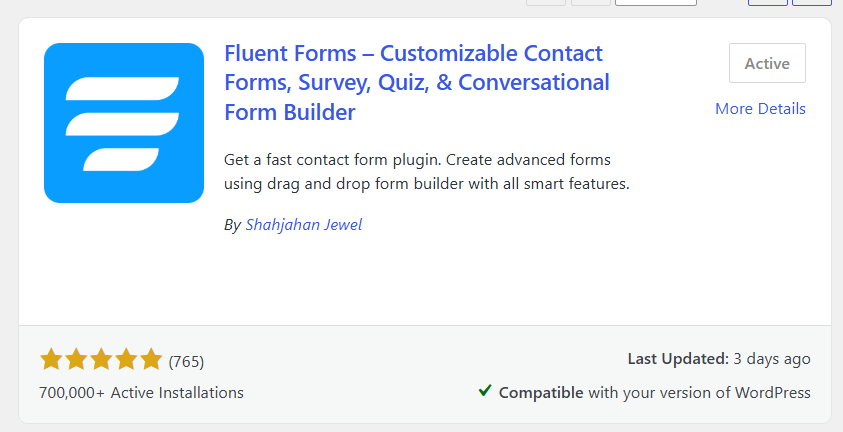
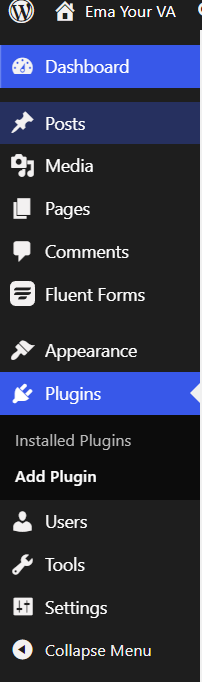
Once it is installed you need to activate it. After activating, Fluent Forms appears in your side menu bar:
Install WP Webhooks, the bridge to your automation tool
Now install another plugin. This one is the bridge between Fluent Forms and your automation tool (Make, n8n... for this example we use Make.com). Search webhook in the plugin search bar, scroll down until you find WP Webhooks, then install and activate it.

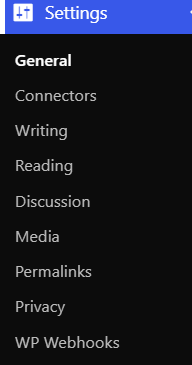
You now have both plugins installed. WP Webhooks shows up in the Settings dropdown in the sidebar.
Pick a form (and see why we need WP Webhooks)
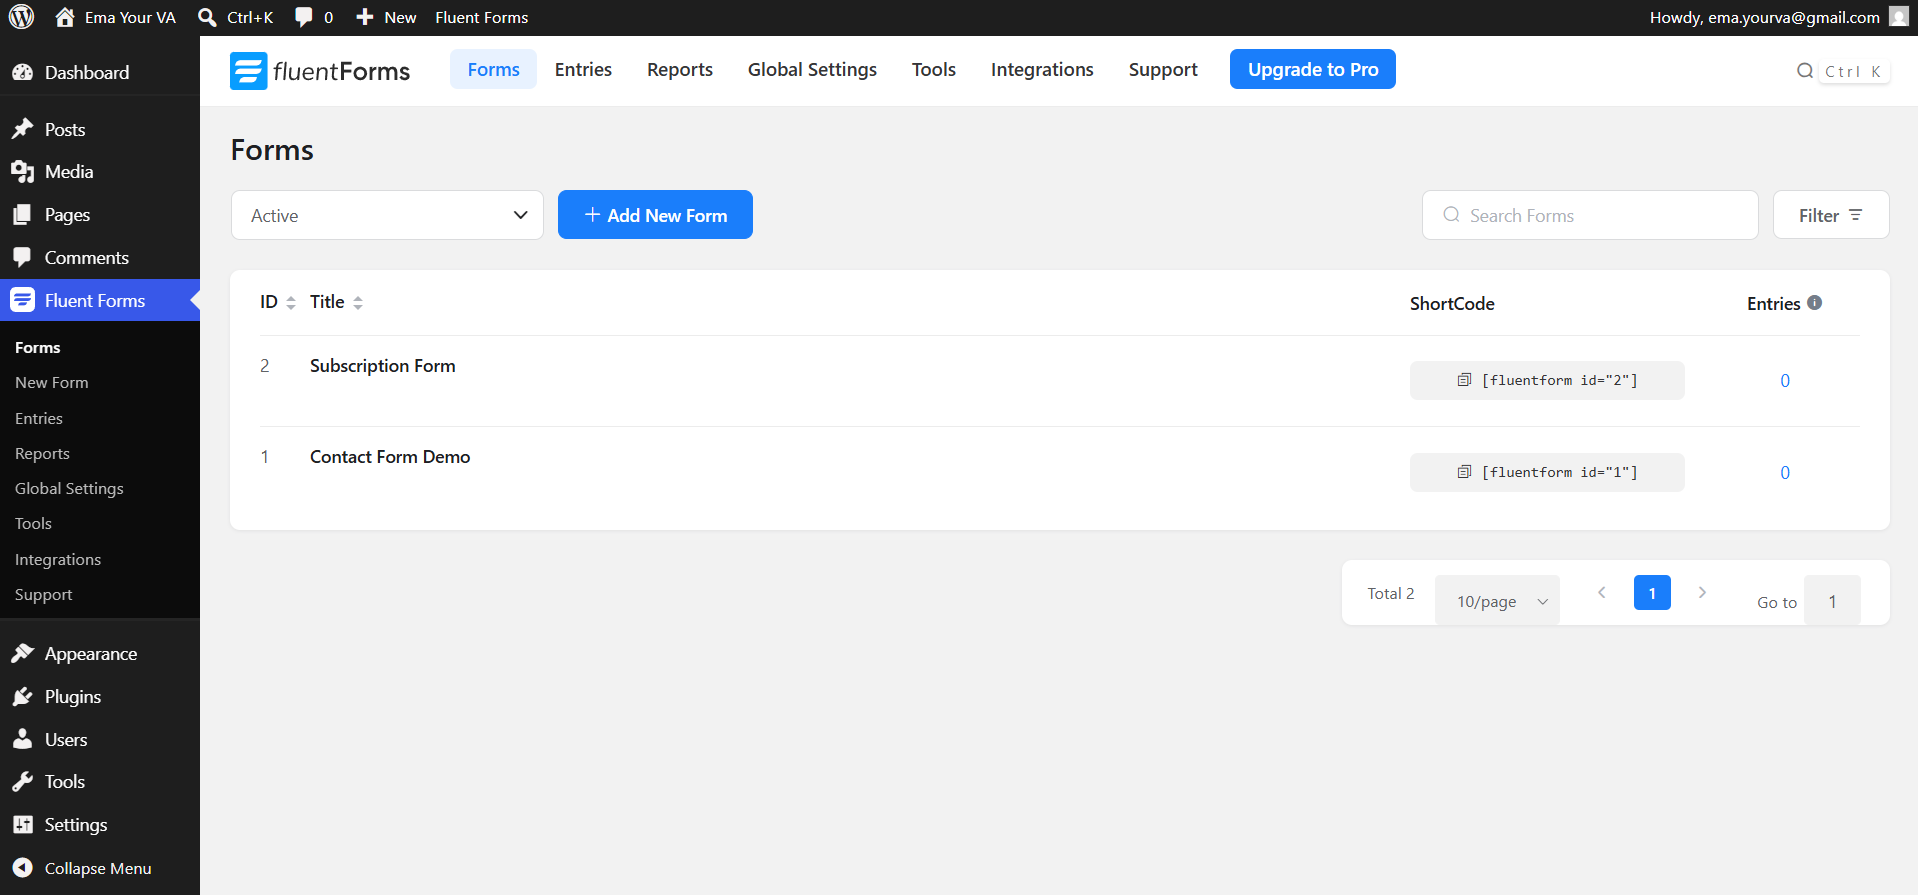
By default, Fluent Forms already comes with forms made for you. Go to Fluent Forms → Forms. We can use one of these as an example.
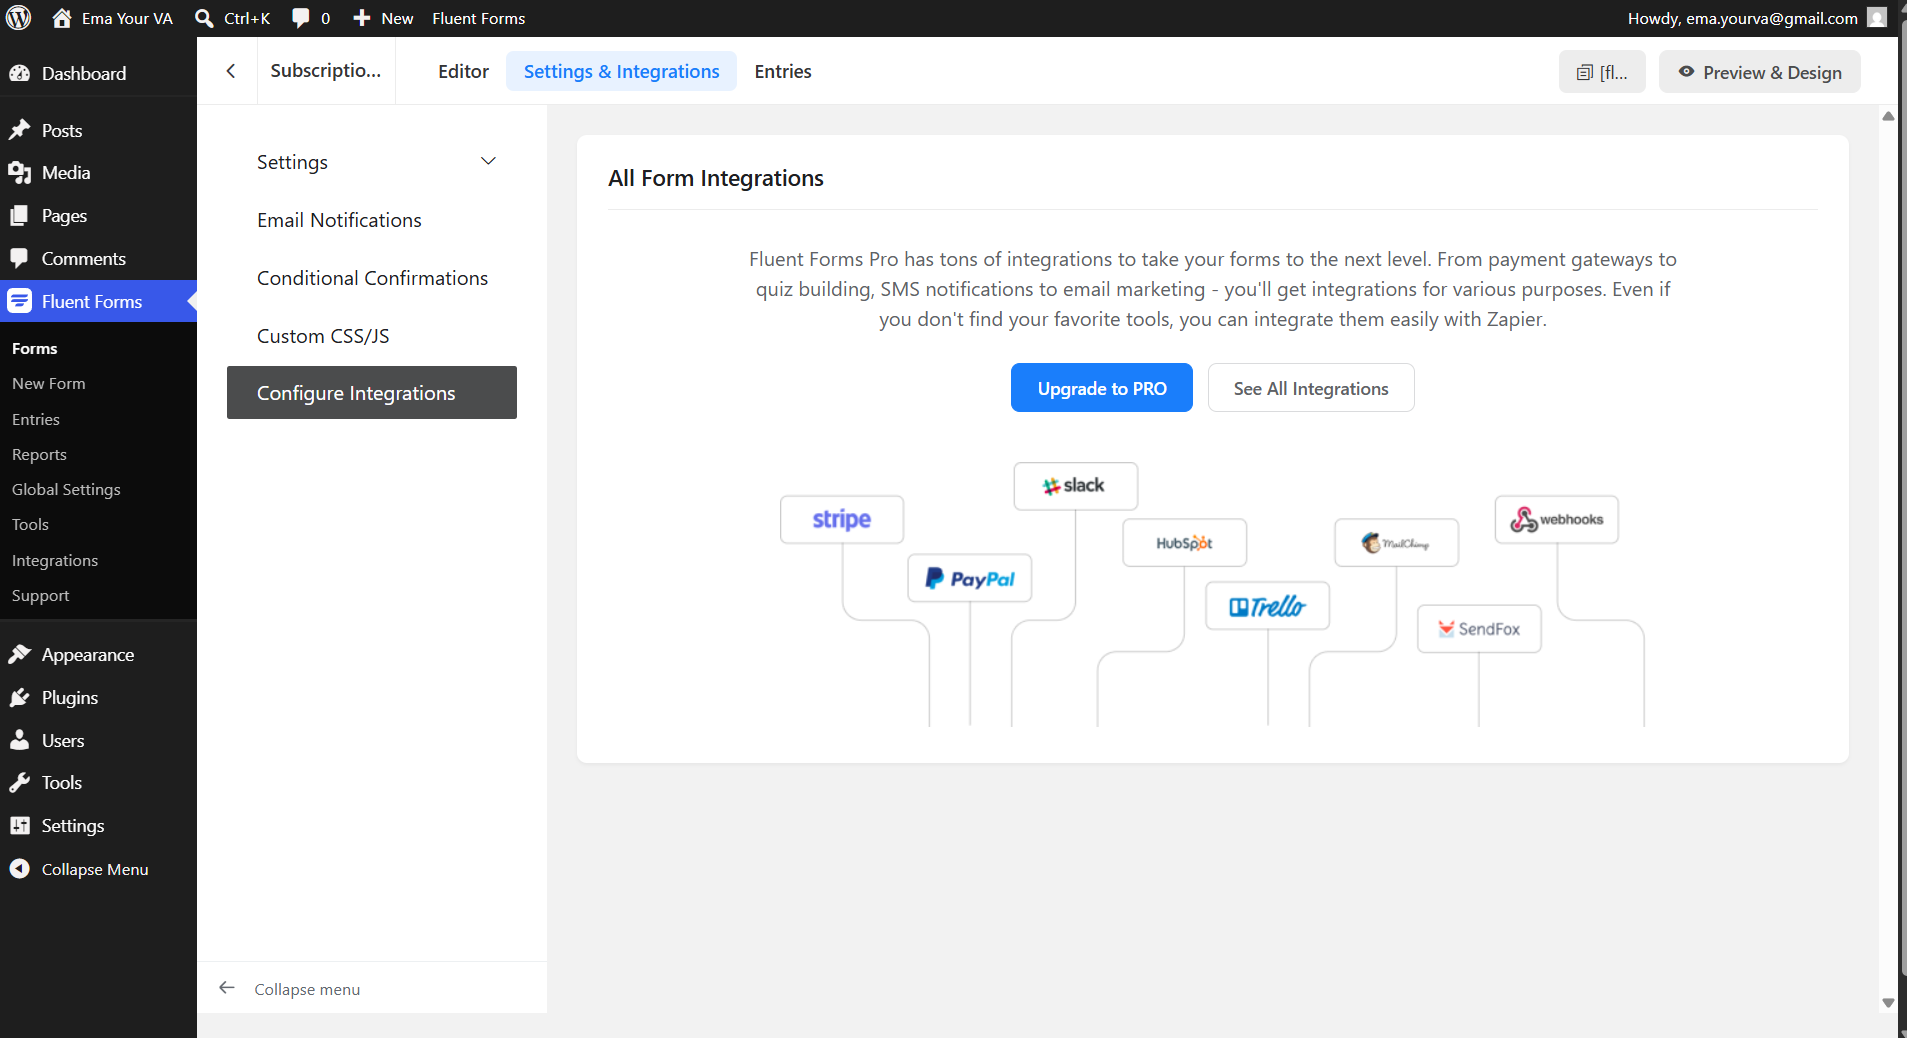
Press Settings under the form:

In Configure Integrations inside the form you can see that connecting to outside tools requires a Pro subscription. This is where WP Webhooks comes in.
Set up the Send Data trigger in WP Webhooks
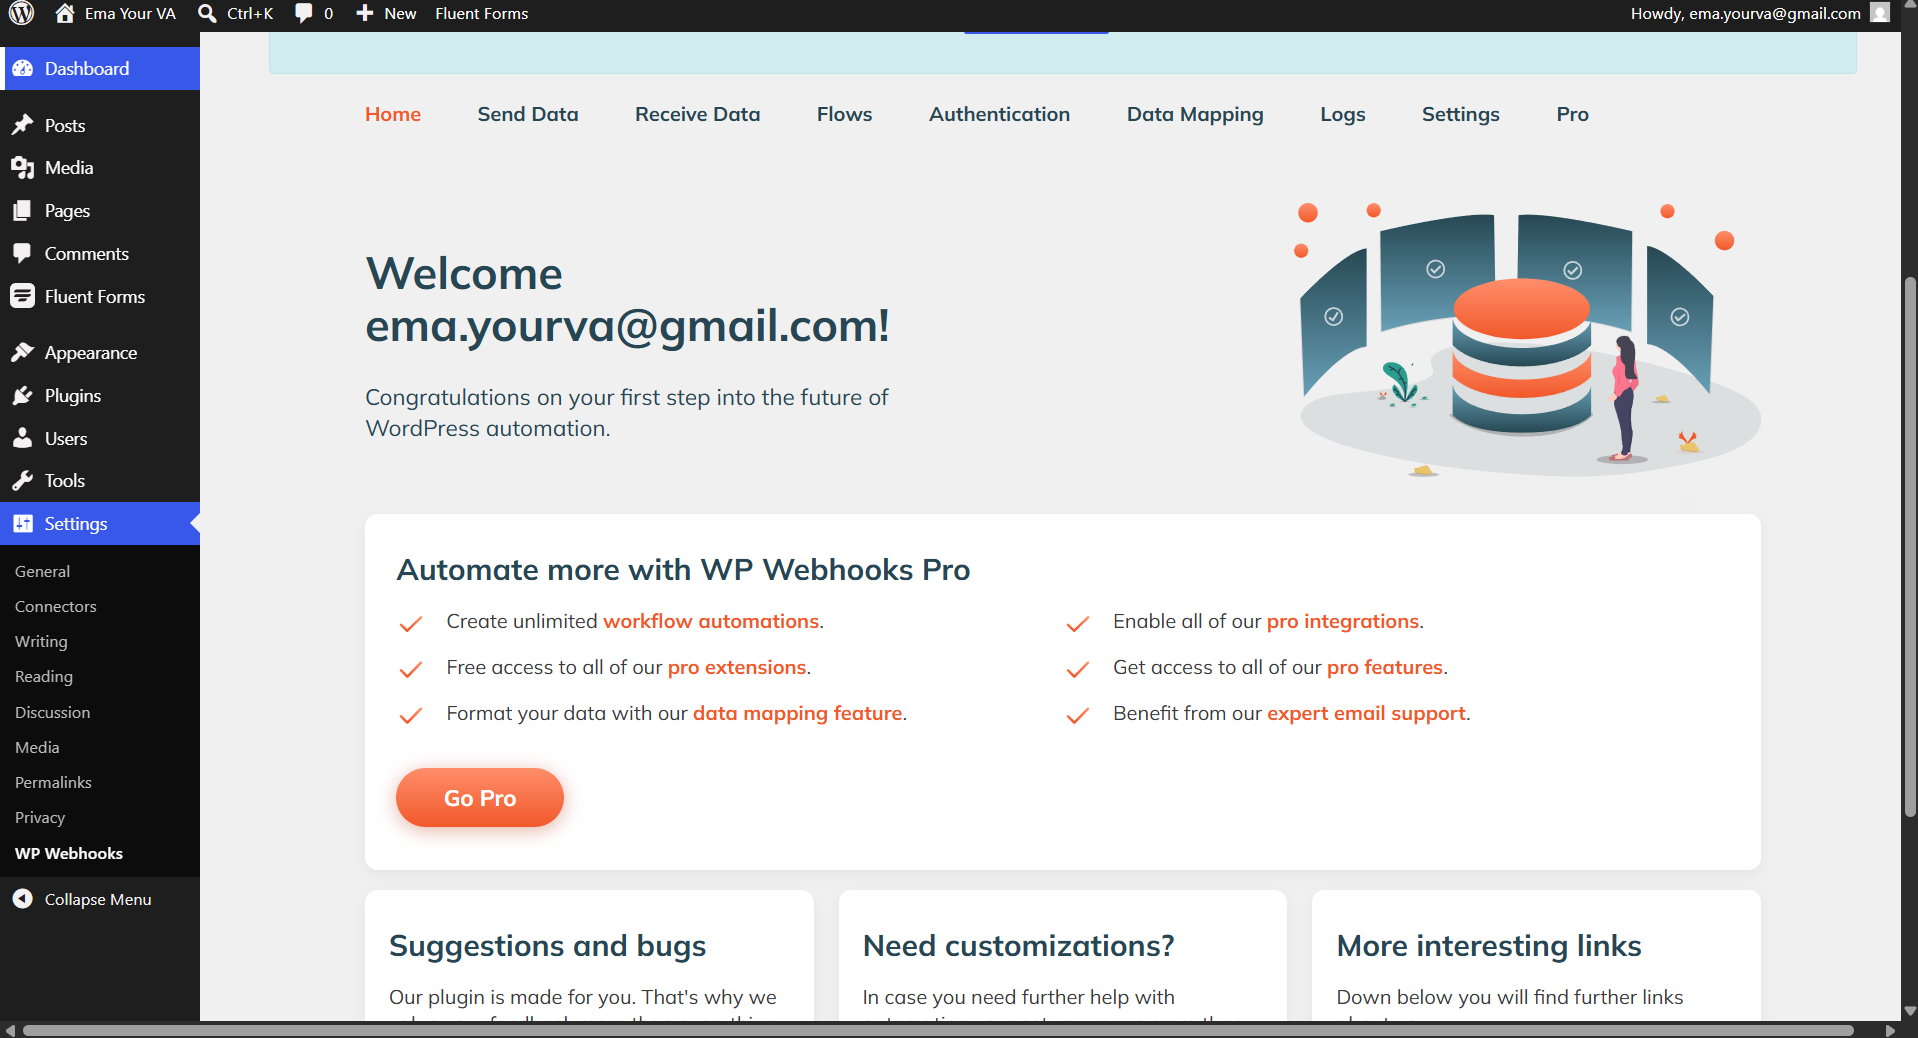
Hover on the Settings tab in the sidebar and press WP Webhooks.
It will bring you to this screen:
Press Send Data. That is what we are going to use, sending data from Fluent Forms to Make.com. It will show you this:
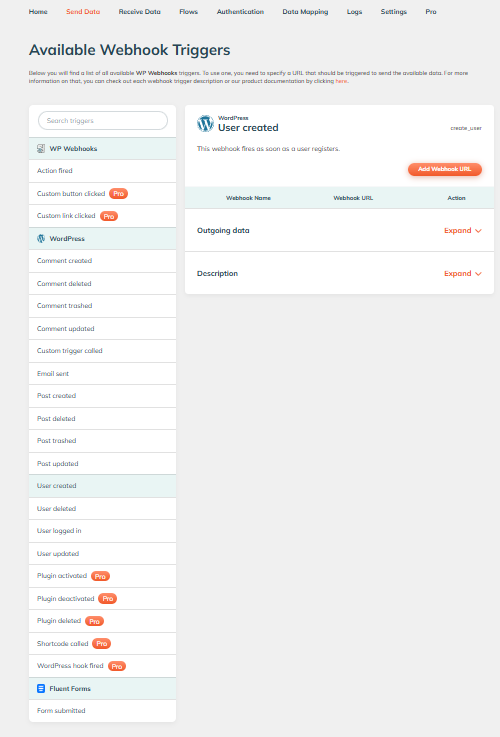
At the very bottom you can see Fluent Forms → Form submitted. Press that.
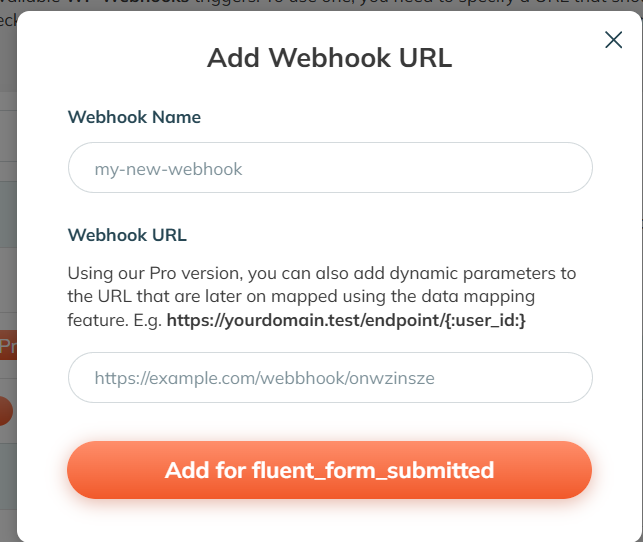
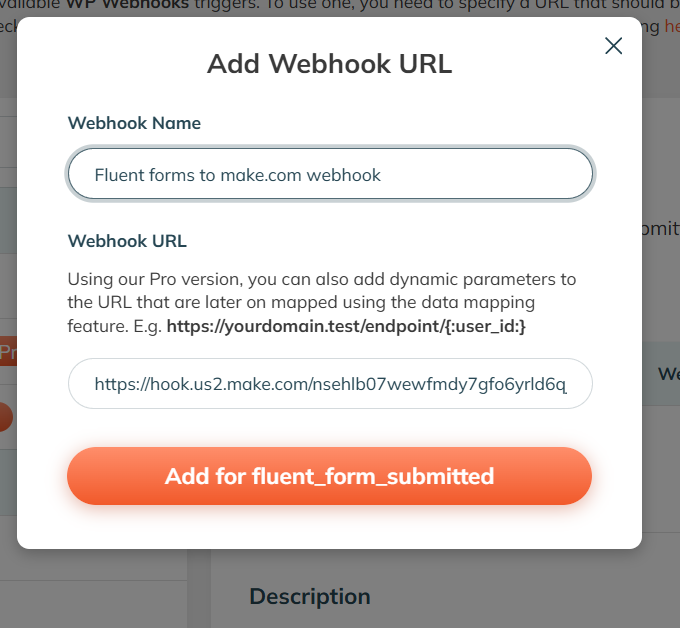
Press Add Webhook URL. This is where your Make.com webhook URL goes. Let's go get it.
Create your webhook in Make.com
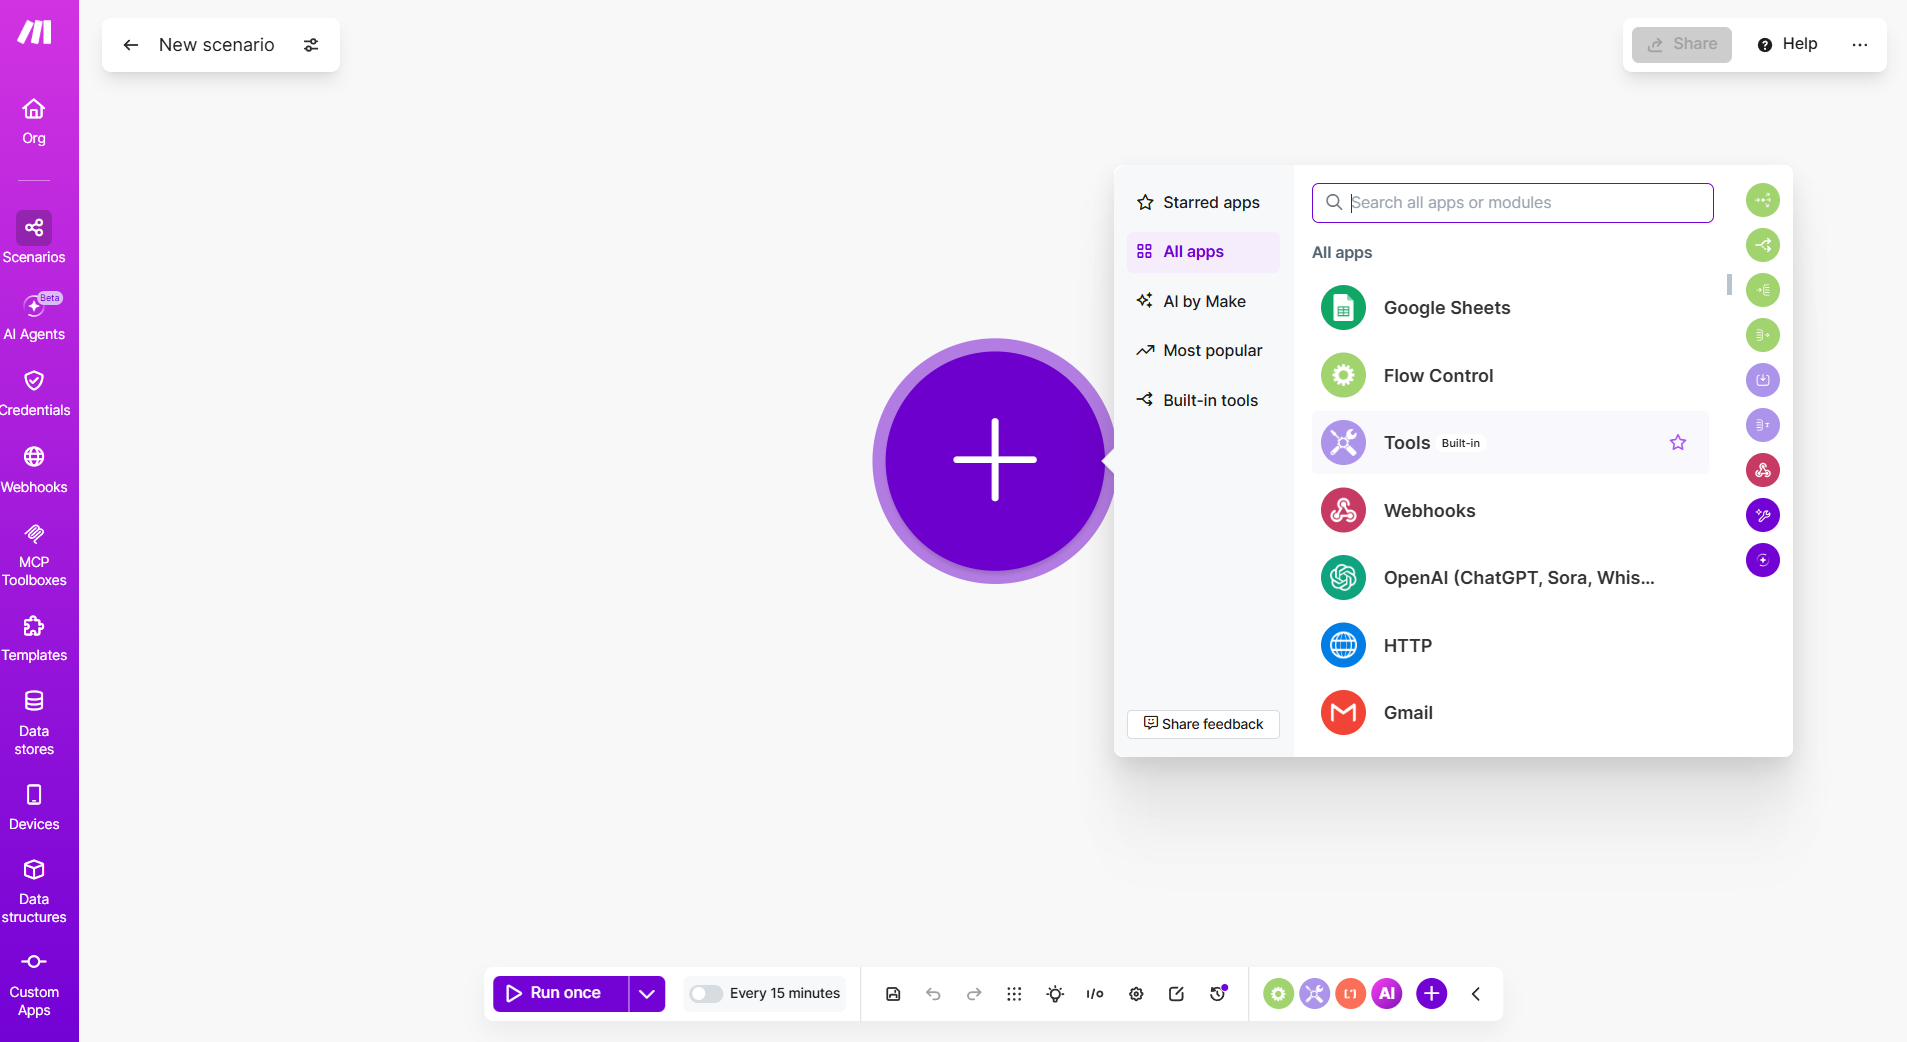
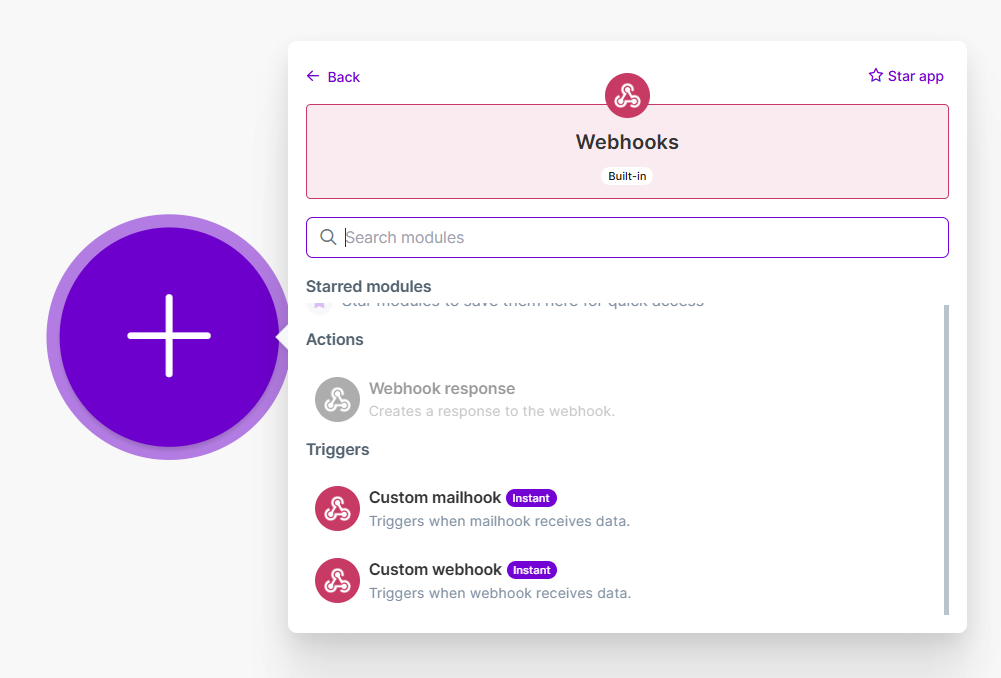
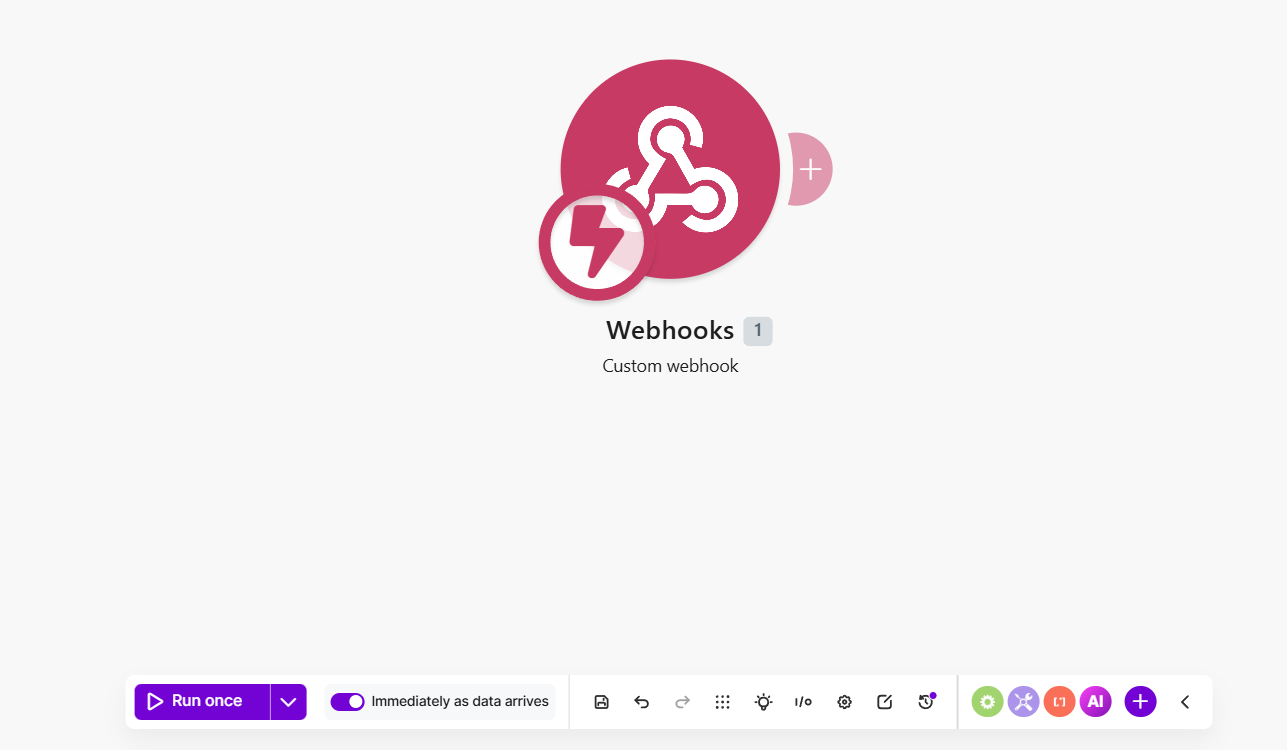
Log in to Make.com (or create a free account here), create a new scenario, press the big plus bubble, and choose Webhooks.
Choose Custom webhook:

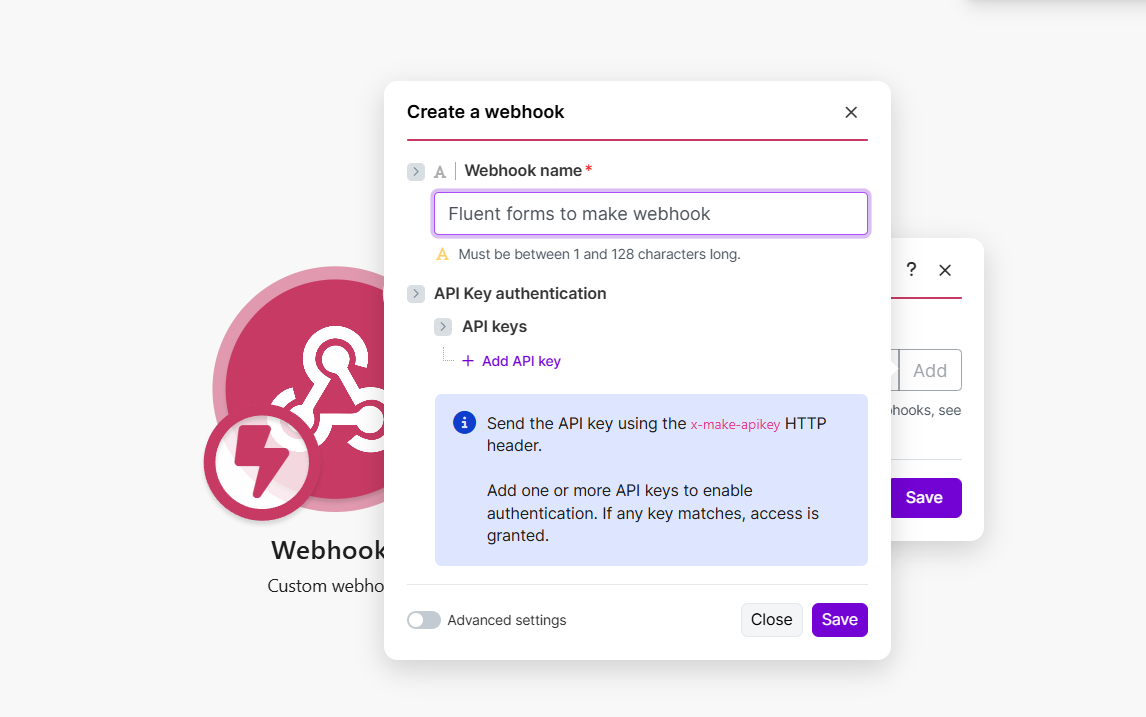
Press Add to add a new webhook, name your webhook, and press Save:
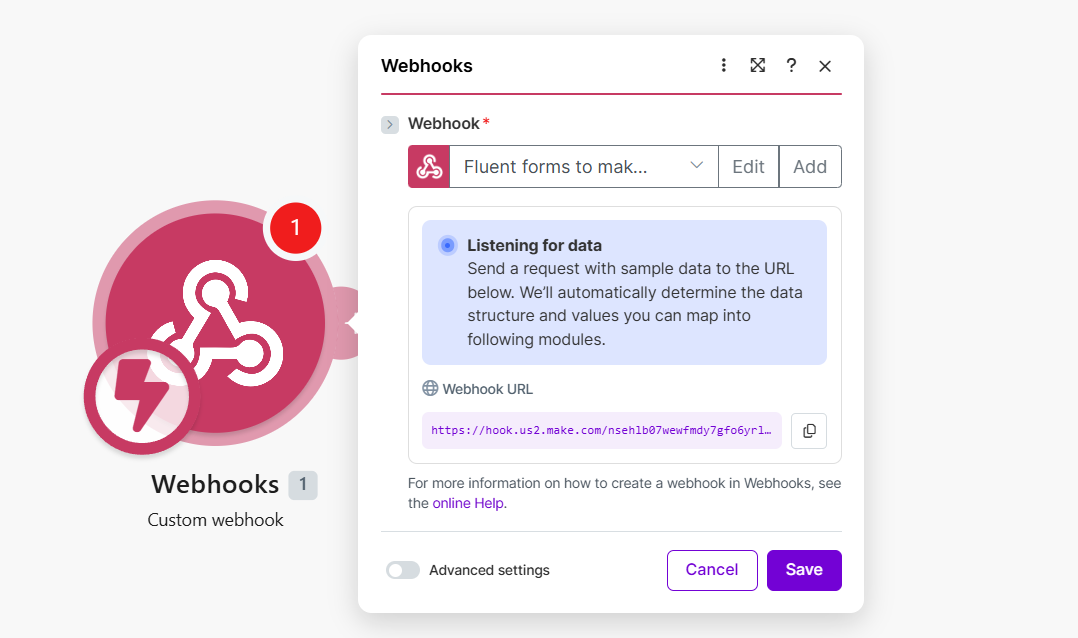
Make will now generate a webhook URL for you to use. Copy it and save.
Paste the Make URL into WP Webhooks
Copy the webhook Make.com provided and paste it into the Fluent Forms trigger in the WP Webhooks interface:
It is now set:
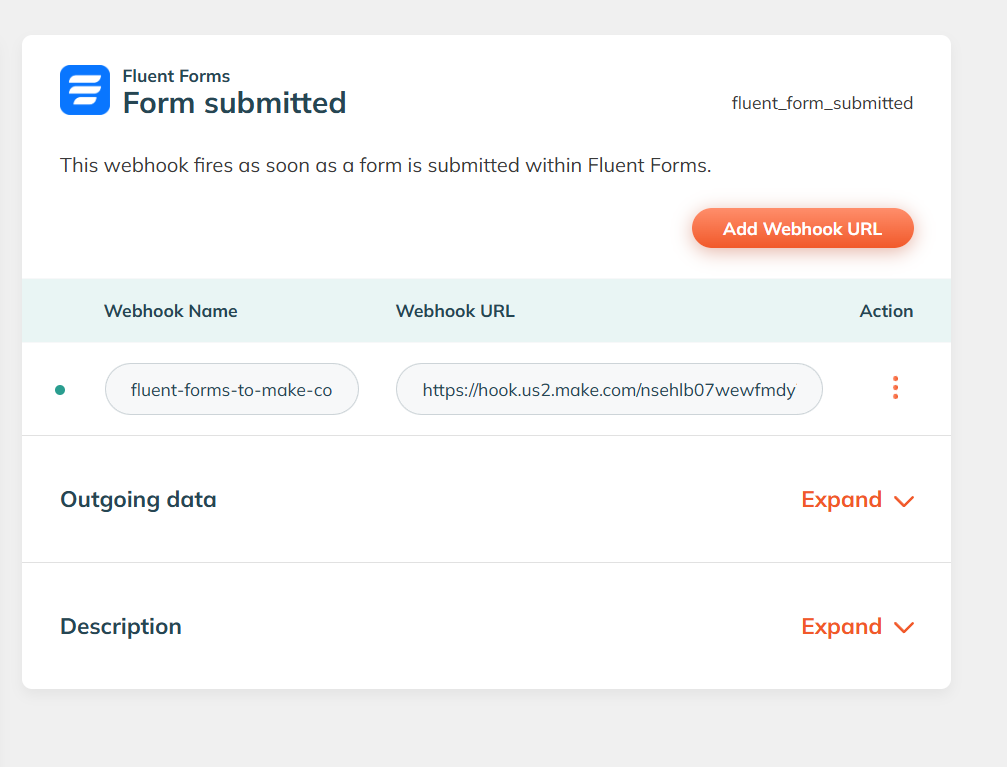
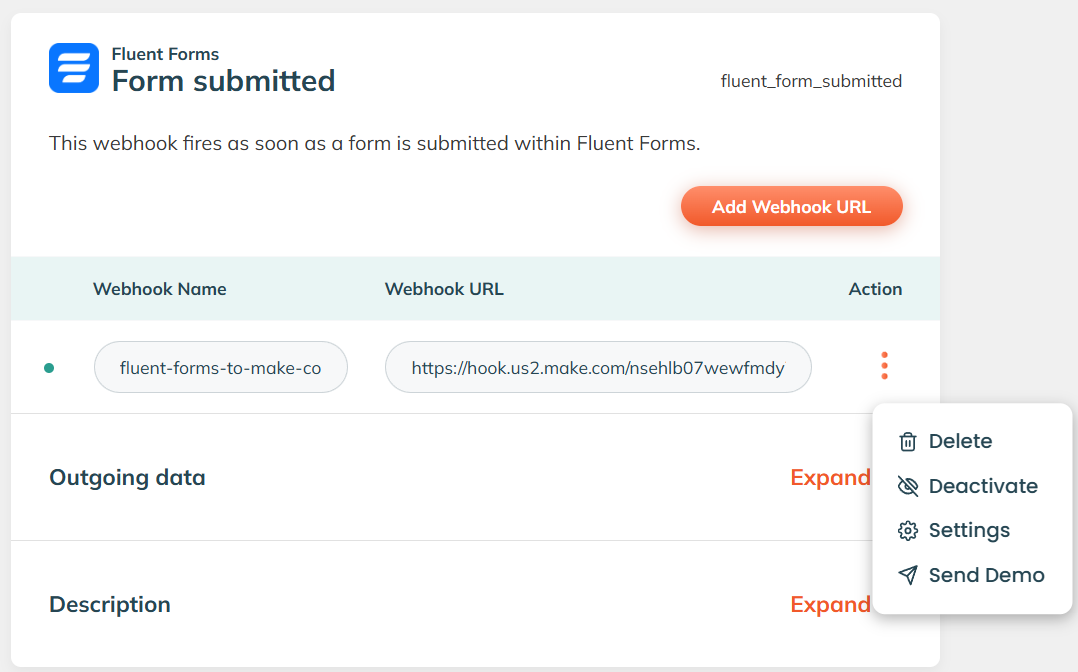
If you have multiple forms in Fluent Forms, you can choose a specific form for this webhook to fetch data from by clicking the three-dot button, then Settings:
Here I selected the Subscription form:
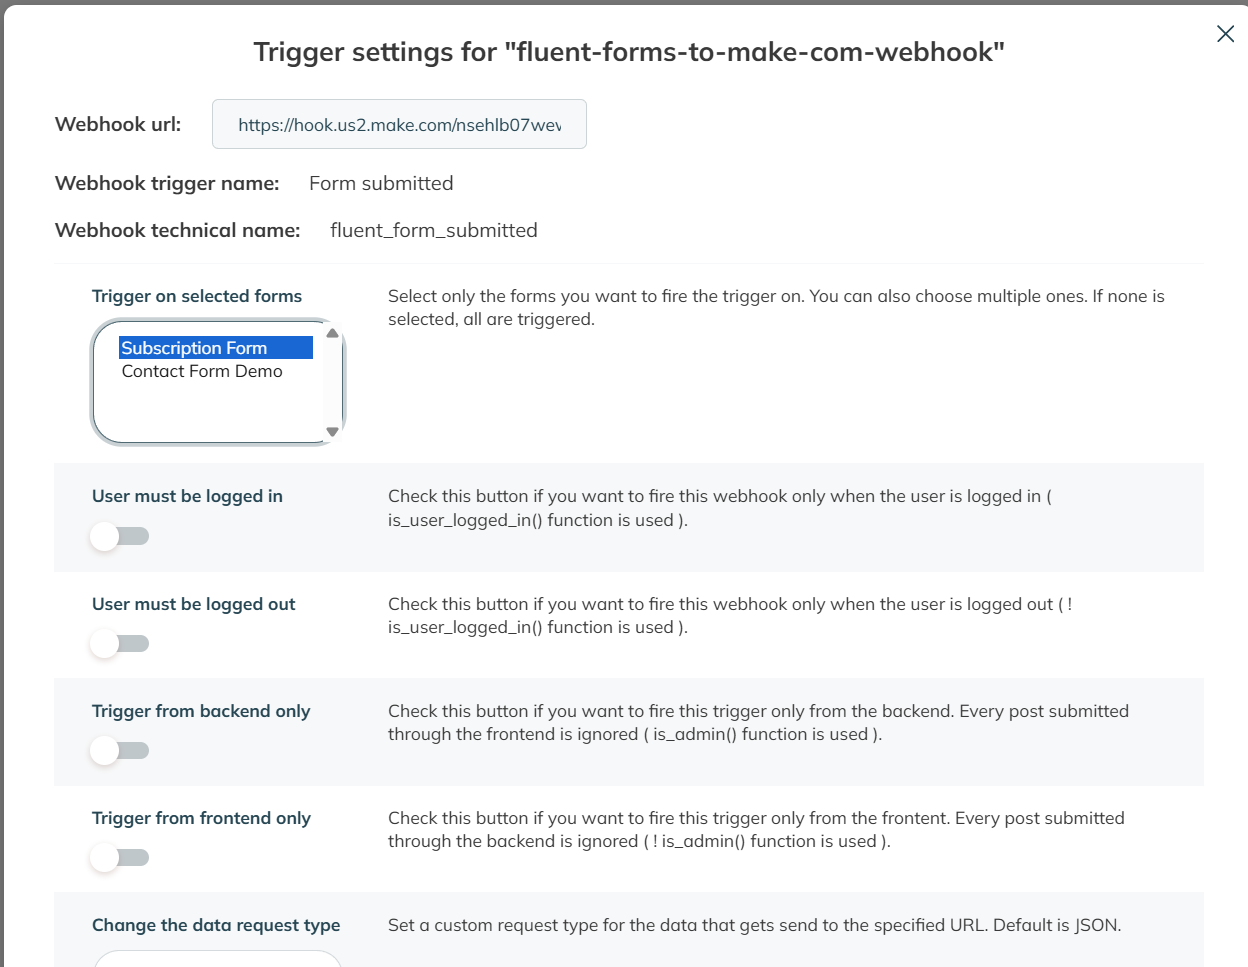
Scroll down to the bottom and press Save. If you only have one form you can leave the settings as is, but it is always recommended to read the instructions, notes, and documentation of every tool you use.
Test it end to end
Go back to Make.com and press Run once so the scenario waits for data sent to the webhook.
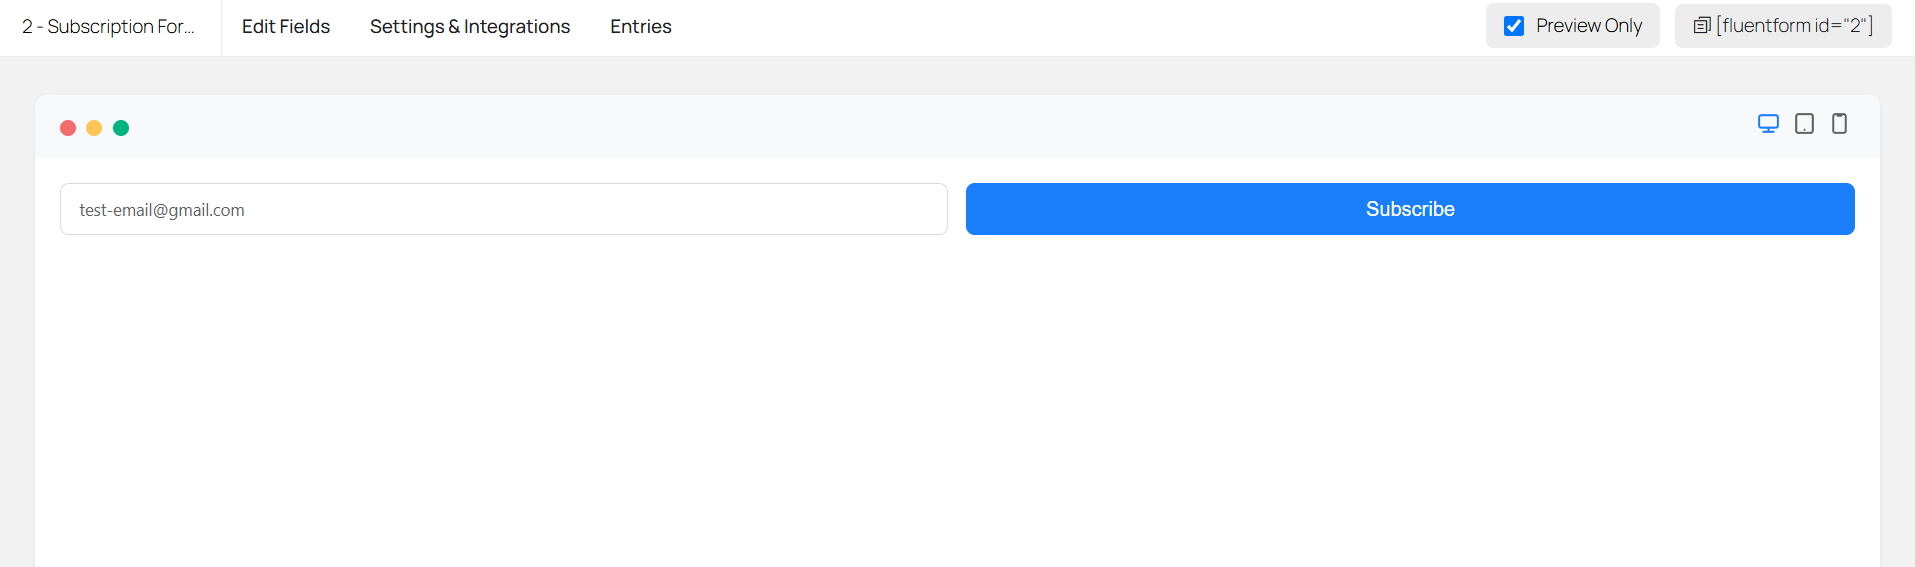
Then go to Fluent Forms and press Preview under the Subscription form:

Type a test email in the field and press Subscribe:

Go back to Make.com and open the small bubble on the webhook module. It contains the data it received. You can see the test-email@gmail.com we typed in the subscription form arrived in Make.com.

Redetermine data structure on the webhook module and submit the form again. Also double-check the URL was pasted with no spaces.From here, send the data anywhere
And that is how you send the data submitted in Fluent Forms to your automation tool. From here you can add a Google Sheets module, a Notion module, or wherever you want the data recorded, as long as you map the fields correctly.
See my full example integrating this guide, where I did this for a discovery-call intake form for a client of mine: from Fluent Forms to a Notion database, with internal and client emails.
Things worth knowing
- Make's free plan includes 1,000 operations per month, which is plenty for most contact forms.
- If you edit the form (add or rename fields), submit a fresh test and redetermine the data structure in Make so the field mapping stays correct.
- This same WP Webhooks trick works for other WordPress events too, not just Fluent Forms.
Want this set up for you?
I build automations like this (and much bigger ones) for businesses every week. Starter builds from $300, delivered in days, no calls needed. Tell me what you are trying to connect and I will reply within 24 to 48 hours.
Tell me what to automate